
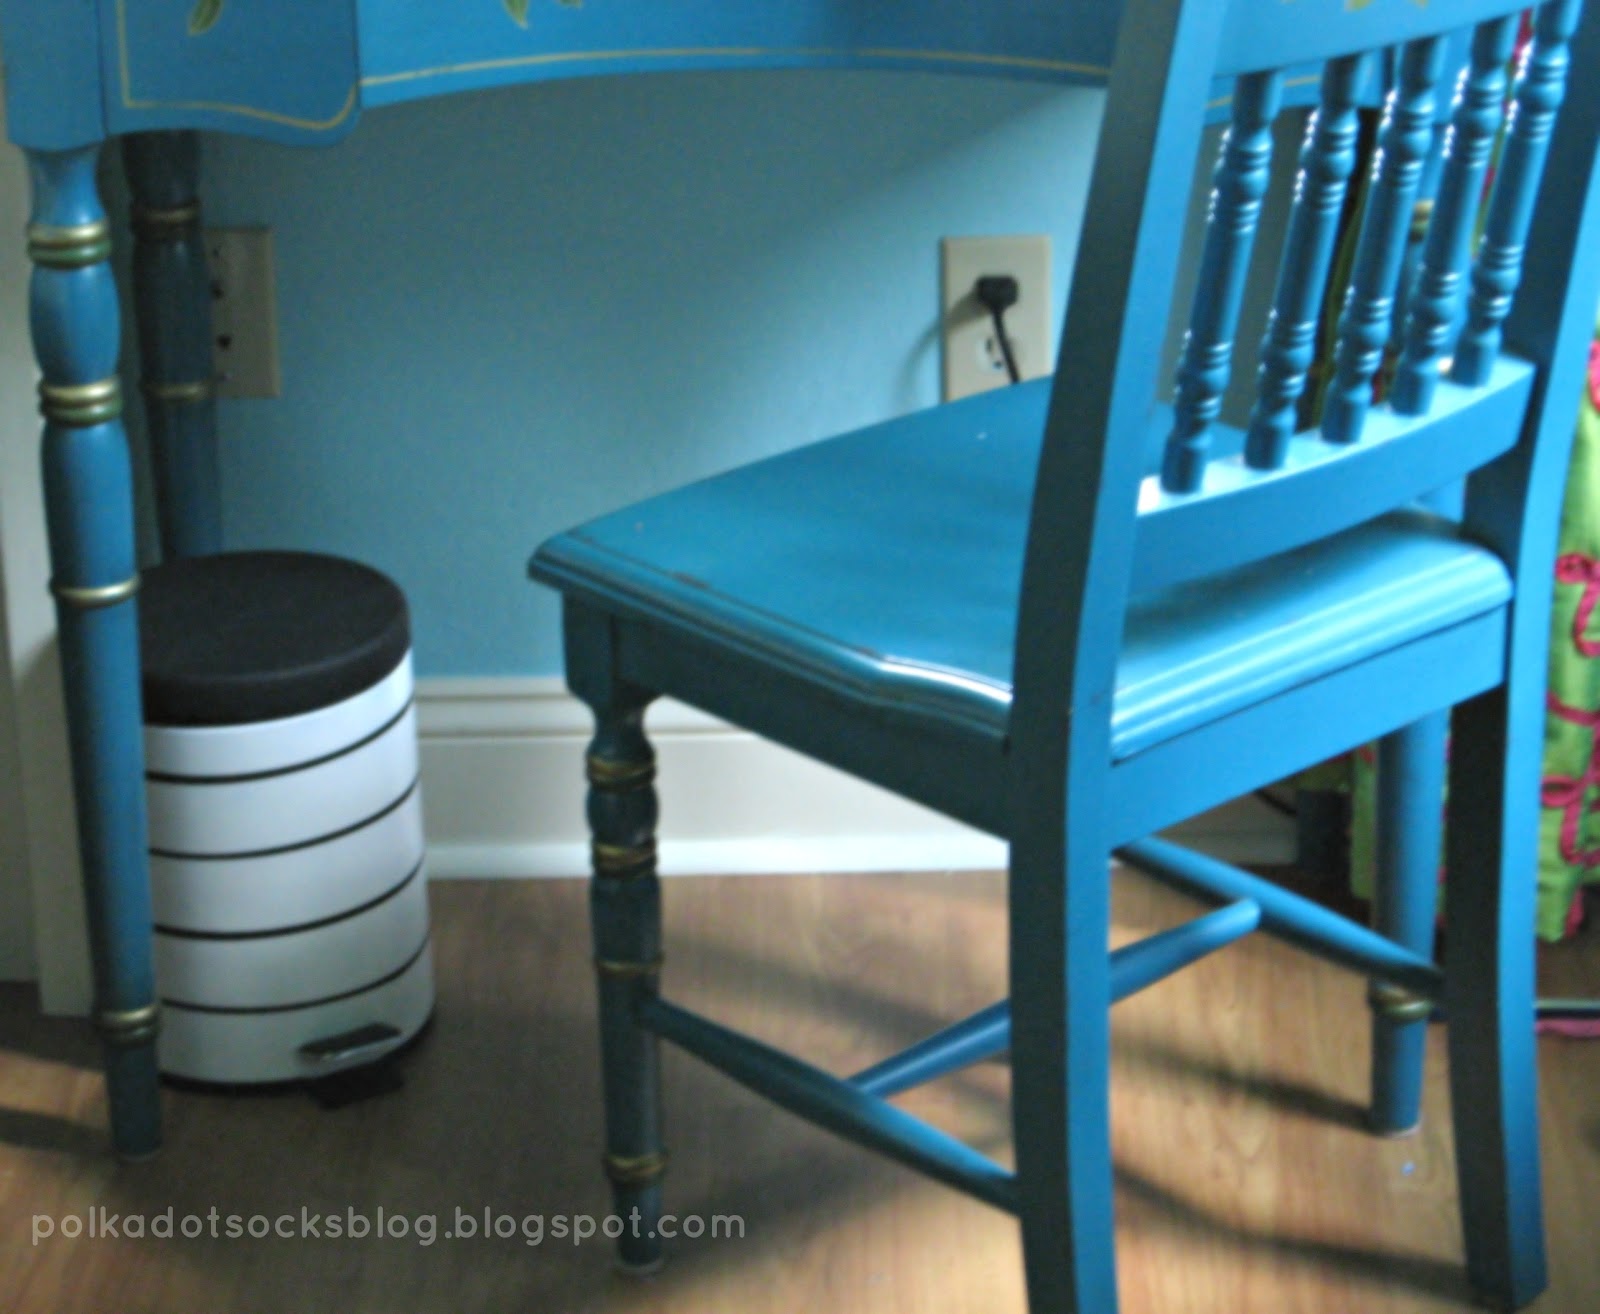
THIS trash can, to be exact.

Keep in mind this pic was taken after I removed the top and sanded it down; I forgot to take a before pic
Now, this is just my very true opinion, but I think this thing looks like the '60s puked on the '80s. I mean, splatter paint AND neon peace signs?! Gosh! Unfortunately, this was the only push-pedal-flips-open-the-top trash can I could find, which is something I direly needed due to my rubbish-eating dog. It was also dirt cheap, which helped a little ;). Once I saw it, I knew I could do SOMETHING to it that would make it look a little more stylin'. Which leads me to present this:

Things you need:
an ugly trash can
spray paint (make sure it bonds to metal and doesn't interfere with the other color(s) you are using, if you choose to do more than 1 color)
sand paper
painter's tape (scotch blue)
newspaper or an outdoor work surface
Before you start, sand down the metal trash can. This removes the glossiness and creates a surface the paint can grip. Do not skip this step, or you could ruin the whole project!
Also remove the top (sand that too) and mechanisms. Make sure you will know how to put it back together when you are done.
Tape over the pedal and spray the whole can your base color. When you apply your second coat, go in the opposite direction you sprayed during the first coat. Don't forget to spray the top too.

Wait 24 hours before adding any tape designs or stencils to make sure the paint won't peel when you remove the tape.
After those 24 hours, you can add your design and spray over it.

wait an hour or so and peel off the tape; if you wait a full 24 hours after spraying the second color it might peel a little. Better safe than sorry!

After peeling it off, wait a bit before handling the trash can a lot to make sure it is completely dry. Then you can screw on the top and hinge.

And that's it! Such a simple, satisfying craft that looks darn cute :). Well that's it for today, hope you enjoyed the tutorial!

No comments:
Post a Comment