Wednesday, November 21, 2012

Pumpkin spice bars with a brown sugarcane glaze

In case you haven't noticed, here in the good ol' U.S. of A. it's fall.  And in case you are completely oblivious to this season,  FALL GOES ON PUMPKIN OVERDRIVE.  Oh yeah, pumpkin candles, pumpkin cookies, even pumpkin soap! Gosh!  So with this gourd-overload, it's no surprise that my family asked me to make something, anything, pumpkin the other night.  But here's the prob, peeps: I, Kate of the Polka Dot Sockers, do not like pumpkin.  I know, you are aghast at this atrocity of autumn. (Okay, so I got a little carried away with the alliterations there).  So I set to work devising my own pumpkin recipe that I actually do like, and I think you would be happy with the results.  Here's what I came up with:


It's pretty simple ingredients, and it makes for a very moist, gooey, cake bar.  Alright, so the recipe is at the bottom of this page, but I just wanted to point out a few things that are important.  For example, When you take the cake out the oven, poke holes all over the surface.  This allows the glaze to seep into the bars.


Also, I don't really have an exact measurement for the glaze.  I just took about a cup of brown sugar and a little butter and melted them together in the microwave.  You should only put enough butter to start the sugar melting.  After poking the holes and making a glaze, pour it over the cake.


Then just cut it up and serve! This was a HUGE hit with my family, and I will definitely be bringing it to Thanksgiving dinner.

Pumpkin Spice Bars & Brown Sugar Glazing

1 and 1/4 cup all-purpose flour
1 tsp. baking soda
1/8 tsp. salt
2/3 cup brown sugar
1/4 cup (half a stick) butter
2 eggs (1/2 cup of eggbeaters) 
1 tsp. vanilla
3/4 cup canned pumpkin pie filling
1/4 tsp. nutmeg
1/4 tsp. cinnamon
1/4 tsp. ginger
1/2 cup milk

Preheat oven to 350 degrees.  
Combine flour, baking soda, and salt in a small bowl.
Melt butter and sugar together in a mug.  Stir with mixer.  Add eggs, vanilla, pumpkin, and spices.  Mix until combined.  
Add flour mixture and milk alternately to butter and sugar mixture, beginning and ending with the flour.  
Spoon batter into a 9-inch cake pan and bake for 20-25 minutes, or until a toothpick in the center comes out clean.  
Make a glaze by melting together a cup of brown sugar and 1 tbl. of butter.  Pour over cake with holes poked in the top.  Cut into squares and serve.

If you are in the U.S., have a happy Thanksgiving!

Pin It

Sunday, November 18, 2012

DIY roll up paintbrush holder

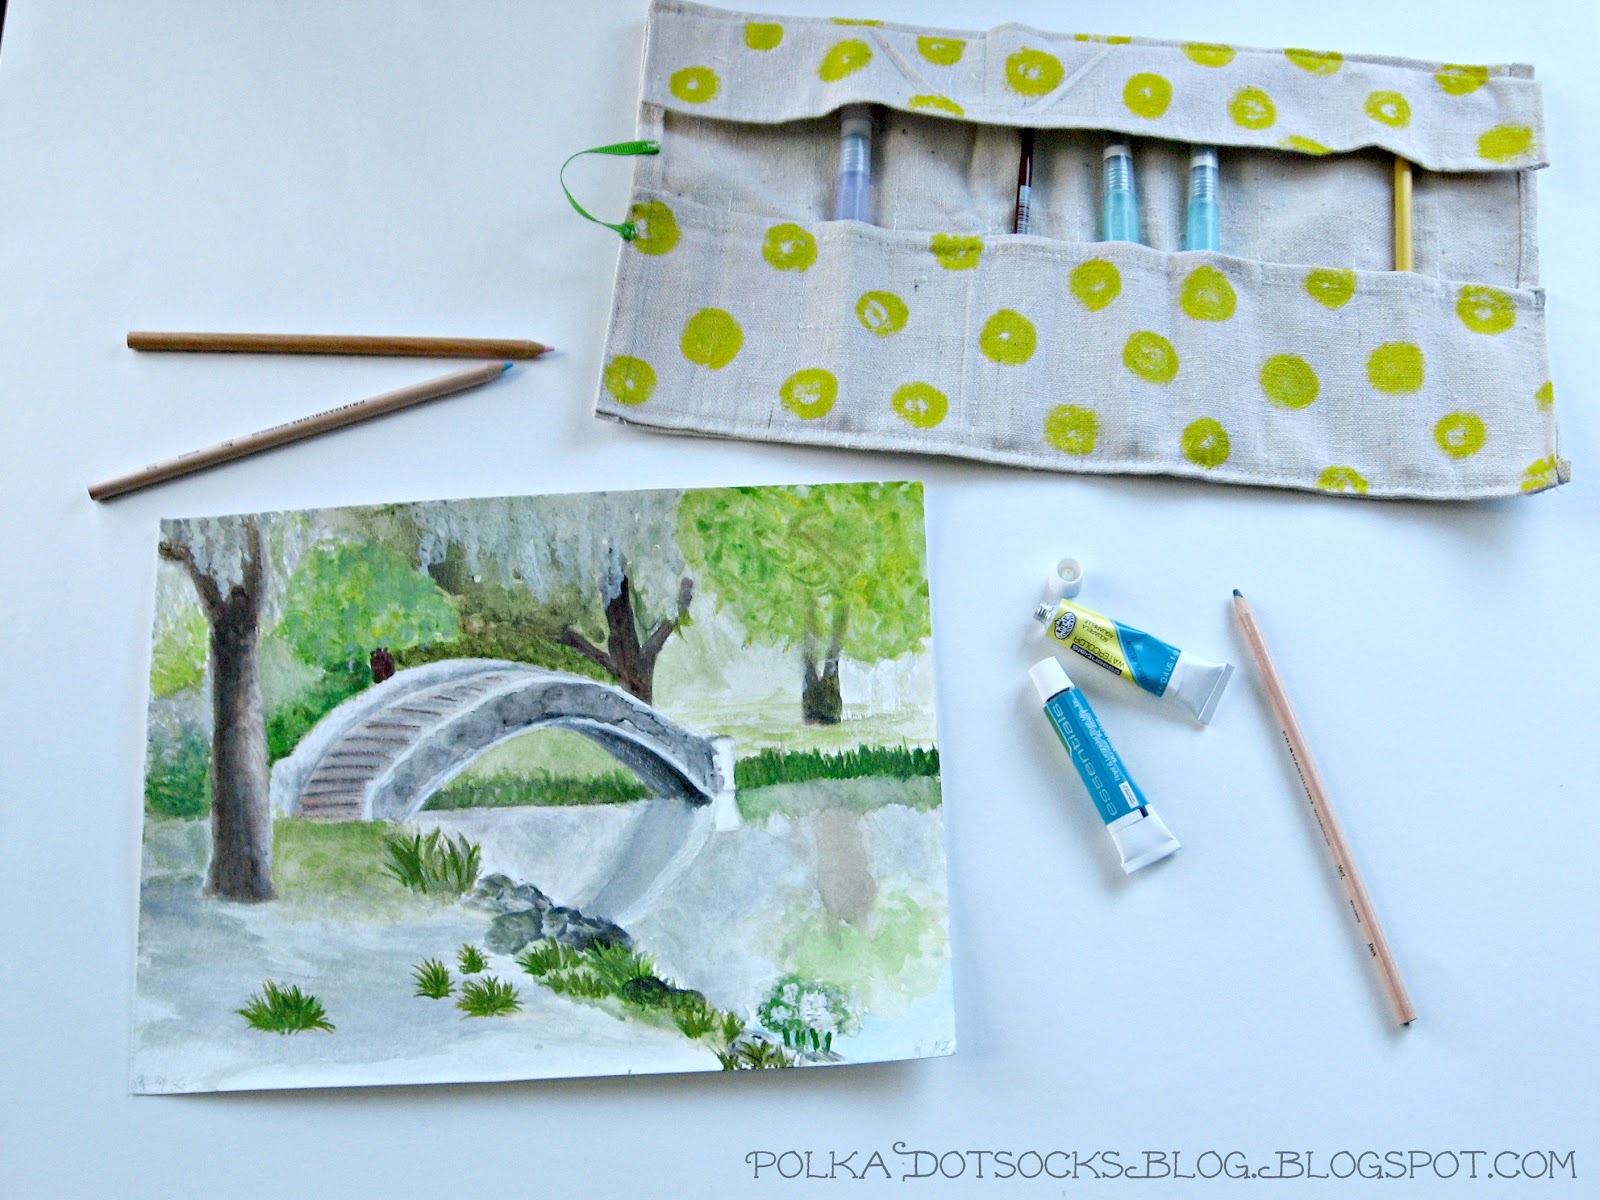
Good morning, internet! Today I want to share a simple project I made to house all my paintbrushes.  It's a roll up holder that you can close up and take anywhere.  Great for the artist on the go!


I originally got the idea from seeing something like this at my local art supply store.  Unfortunately, it didn't look like it would hold up very well.  Plus, it just wasn't very cool looking :).  So, I decided to make my own.  I really just wanted something to house my niji waterbrushes when I take them somewhere.


So to make this, here's what you will need:

To start, measure out on the canvas how big you want your roll to be.  Take into consideration the size of whatever you will put in there.  


Once you cut it out, fold over all the edges twice and sew them.  This puts the raw edges on the inside of the fold for a nice, clean edge.


After that, cut out a piece for the pocket.  Make it a little bigger than you want it to be for seam allowances.


Once again, fold over all the raw edges twice and sew it onto the bottom of the inside.  After you have it sewed on, stitch straight lines through the pocket to make smaller pockets.  Make sure they are big enough to fit what you want to put in the roll.

If you click the picture to zoom you will be able to see the pocket lines better.

Almost there! After this step,  sew on a top flap to keep the brushes from falling out the top.  Remember to make it a little bigger than you want it again.


Now comes the fun part!  I used my fabric medium to paint sketchy blue polka dots on the outside...


... and yellow on the inside!


Last part, I promise!  Now sew a ribbon loop onto one end.  Then roll it up and mark where the loop lands.  Put a button here.


After all this you can throw it in the wash to get off pencil marks.  And you're done! Perfect place for brushes, pencils, crayons, or even makeup brushes!


Pin It

Saturday, November 10, 2012

Chocolate, mint, caramel, buttercream, mmmmm...

The other day, I got myself into a baking mood.
This might have something to do with watching the Pioneer Woman's cooking show.  Too much of that is not healthy for my cholesterol!  This time she was making homemade french fries, and hamburgers, and dessert, and I am drooling on my keyboard... But I digress.  

Anyway, that reminded me of an idea for cupcakes I had.  Chocolate chunk and minty buttercream:P  But in the process of making these delicious pastries, my ever-sweetloving brain decided chocolate, caramel, and buttercream would be a better idea.  So of course, I had to make both!  The hardest part was deciding which was better;)
At this point the sweet, delicious idea struck

One of the best parts of this was little chocolate chunks inside the cupcakes.  When I bit into one, the little pieces melted in my mouth.  Ohhh yeah.  I put the chocolate chips into the batter this time.  I don't know why, but they didn't melt.  Next time around I may put them into the cupcakes right out the oven so they can melt in the middle and make the insides all gooey.  


   For the mint icing I just used mint extract instead of vanilla and tinted it slightly green.  I  used organic mint extract, and the difference is actually really obvious.  Soooo much better!  

   With the caramel I used plain vanilla buttercream and--you guessed it--caramel drizzled on top.  I might change how I did that in the future.  I melted little caramel chips in the microwave, but that didn't work out so well.  It started to harden almost immediately, causing a mad, hand-burning dash to the counter to quickly use the stuff.  I ended up having to pull it into strings like taffy and swirl it onto the icing.  Next time I will probably use Dulce de Leche like I see on Pinterest all the time.


All in all, this ended up awesomely yummy.  I'm glad it did; the mint cupcakes would be great for a Christmas party.

For the mint icing use my buttercream icing recipe and substitute the vanilla extract with mint.

Chocolate Chunk Cupcakes
adapted from MyRecipes
Polka Dot Socks
Makes about 12 cupcakes

1 cup all-purpose flour 
1/2 cup unsweetened cocoa
1 teaspoon baking soda
1/8 teaspoon salt
2/3 cup and 1 tablespoon white sugar
1/4 cup (half a stick) butter, softened
1/2 cup egg substitute or 2 eggs
1 teaspoon vanilla
1/2 cup 1% low-fat buttermilk (you can make your own)
1 1/4 ounces dark (70 percent cocoa) chocolate, finely chopped or 1/2 cup of chocolate chips
                                                                                                                                                       

Preheat oven to 350°.
 Combine flour, cocoa, baking soda, and salt in a bowl; stir with a whisk.
Separately beat sugar and butter in a large bowl at medium speed until fluffy. Add eggs and vanilla. 
Add flour mixture and buttermilk alternately to butter and sugar, beginning and ending with flour mixture. 
Spoon batter into 12 muffin cups with liners. Bake at 350° for 18 minutes.  
Cupcakes should spring back when touched lightly in center or wooden pick inserted in center should come out clean. 
Insert chocolate chips into warm cupcakes' centers.
Remove from pan; cool completely on a wire rack.  Frost or sprinkle with powdered sugar when cool.


Pin It